
This is where you will see all of my work on Inventor. All of my projects will be posted on this page.
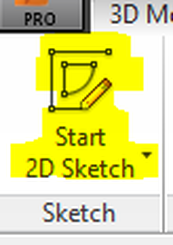
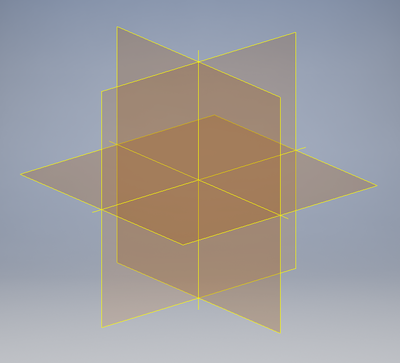
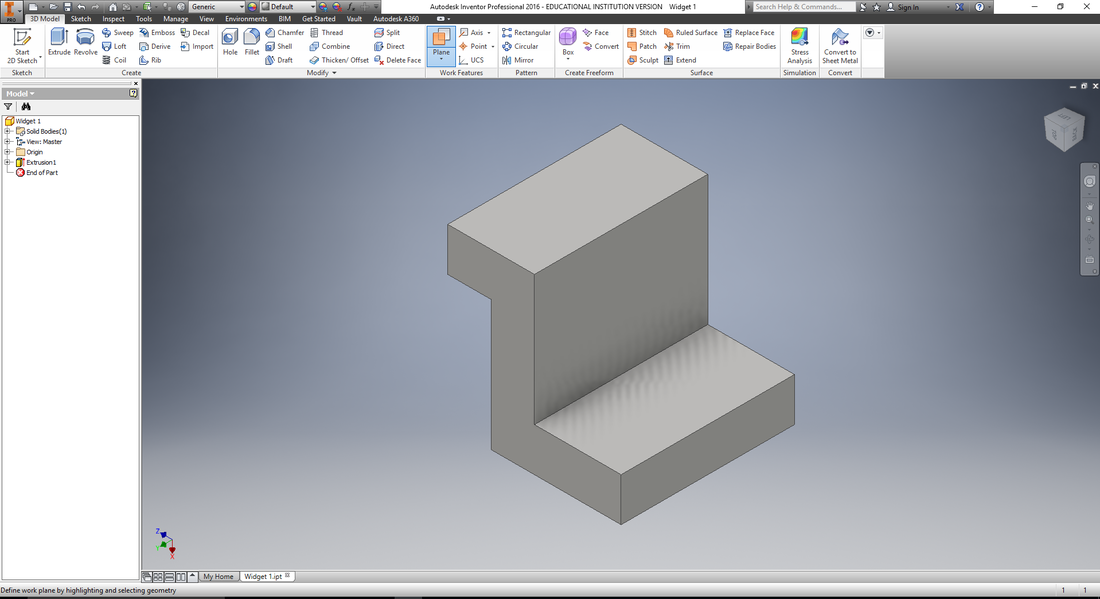
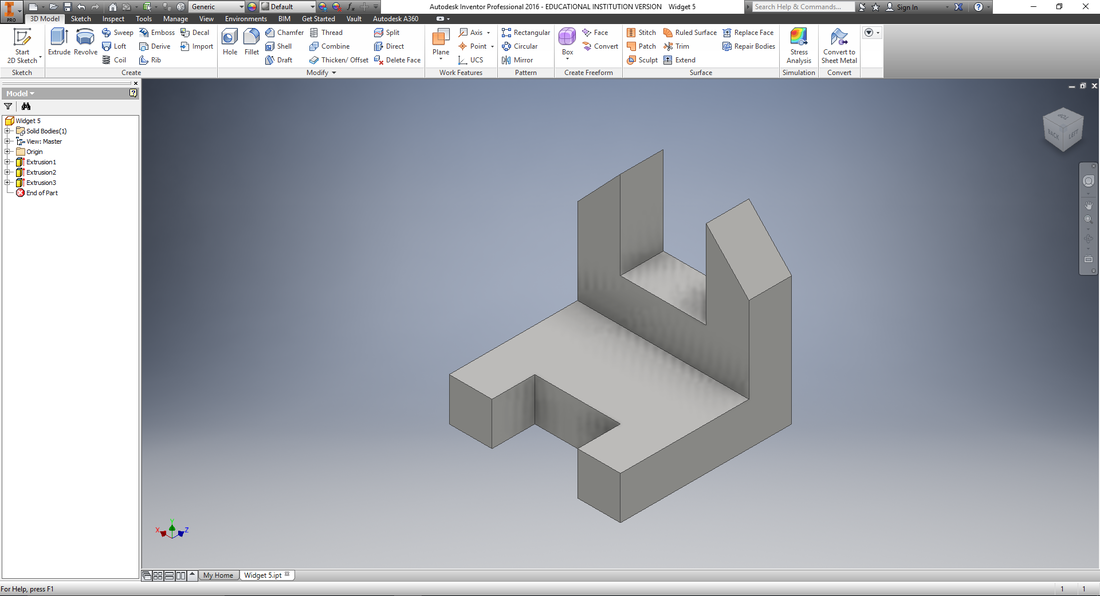
So the first step to start making your widgets is to get on Inventor and select the Start 2D Sketch button at the top left corner. Then you choose which plane you would like to make your widget on. I usually use the XY plane.
|
|
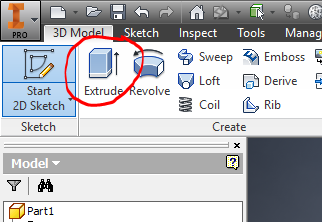
After that, the second step is to get your dimensions correct. When they are correct, you hit finish 2D sketch in the top right corner of the screen.

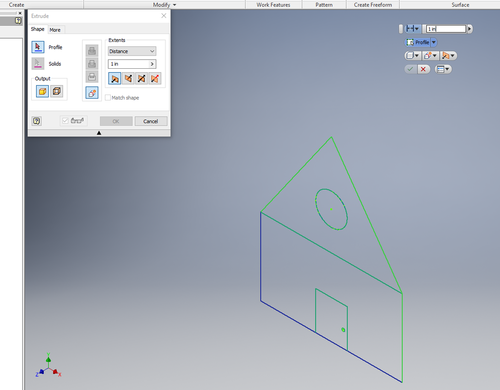
When the sketch is ready to be extruded, go to the top of the screen and hit extrude. Extrude the drawing to the correct dimension and hit ok.
|
|
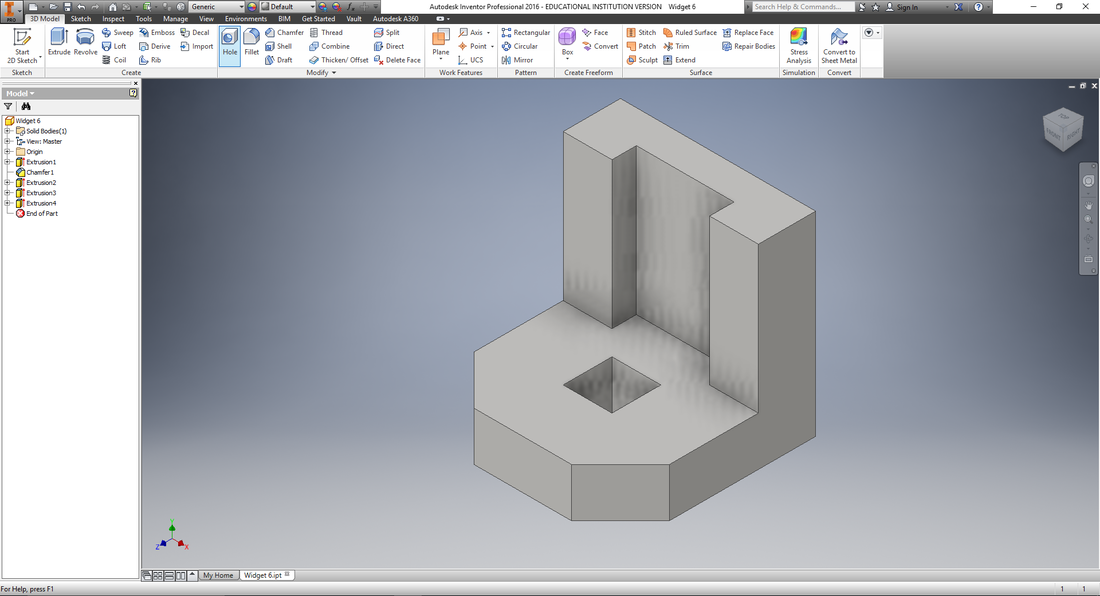
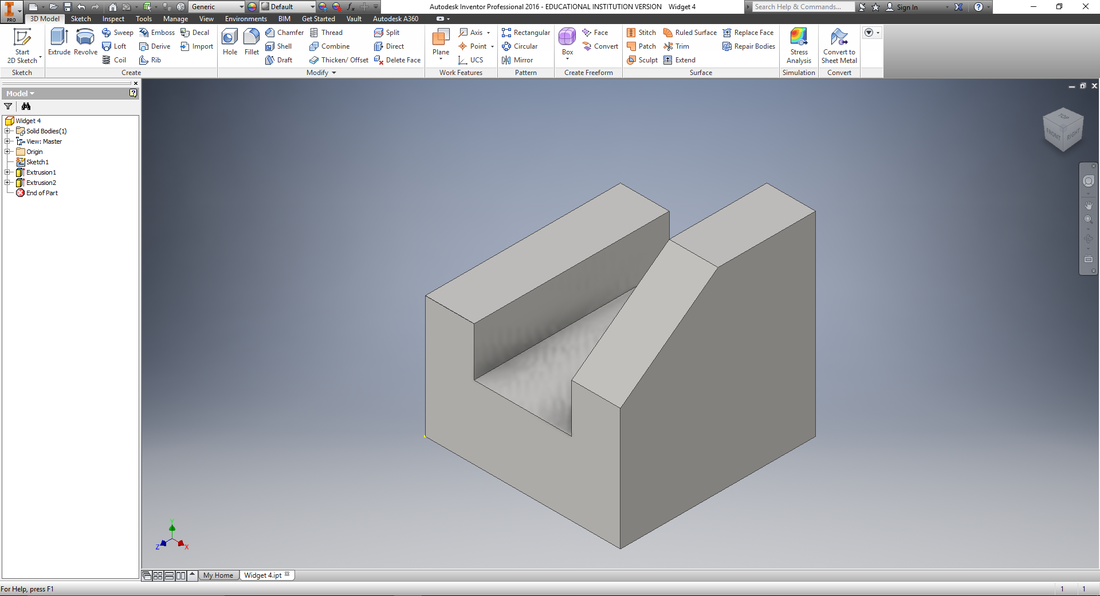
Widgets
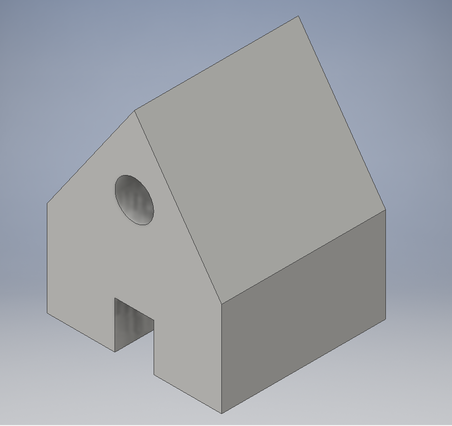
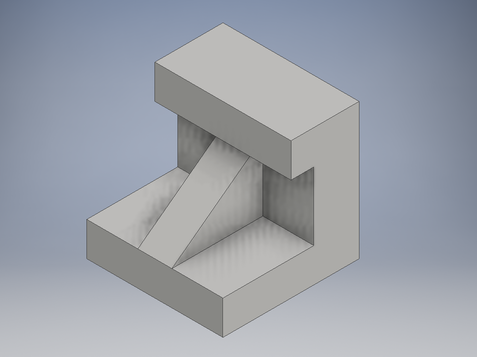
Widgets are our first assignment on Autodesk Inventor. We got a paper with the widgets on them already and we have to redraw those onto another piece of graphing paper. We then take these widgets and put them onto Inventor

|
|
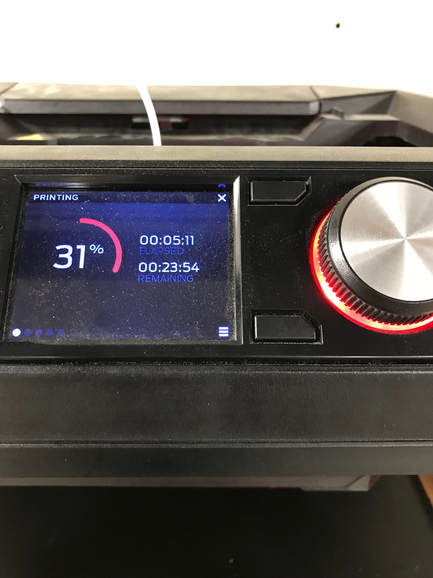
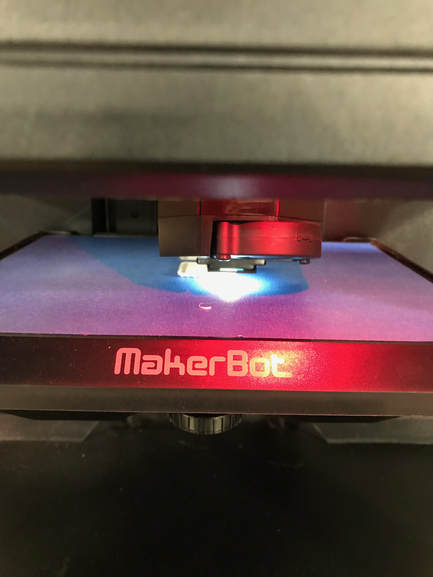
3D Printing
For the 3D printing part of Inventor, we had to print one of these widgets. I chose to do the widget in the middle on the right above. What we had to do to print the widget was to transfer the widget from Inventor to maker bot.

After we transferred it to maker bot and changed all of the settings to make it the correct size, we then put the widget on a flash drive and went down to the lab. There, we put the flash drive in the printer and started printing.
|
|

